backup regularly
Import photos into photo shop

Photos require rotation to be used effectivly

Once rotated the pictures need to be adjusted to removed effects created from camera
Right click on layer (background) choose create layer from background.
Adjust settings in pop up box according to requirements and select ok

Filter - distort - spherize
Adjust for lens to create flatter image

Select / highlight one picture
Image - canvas size - make canvas 200 percent width
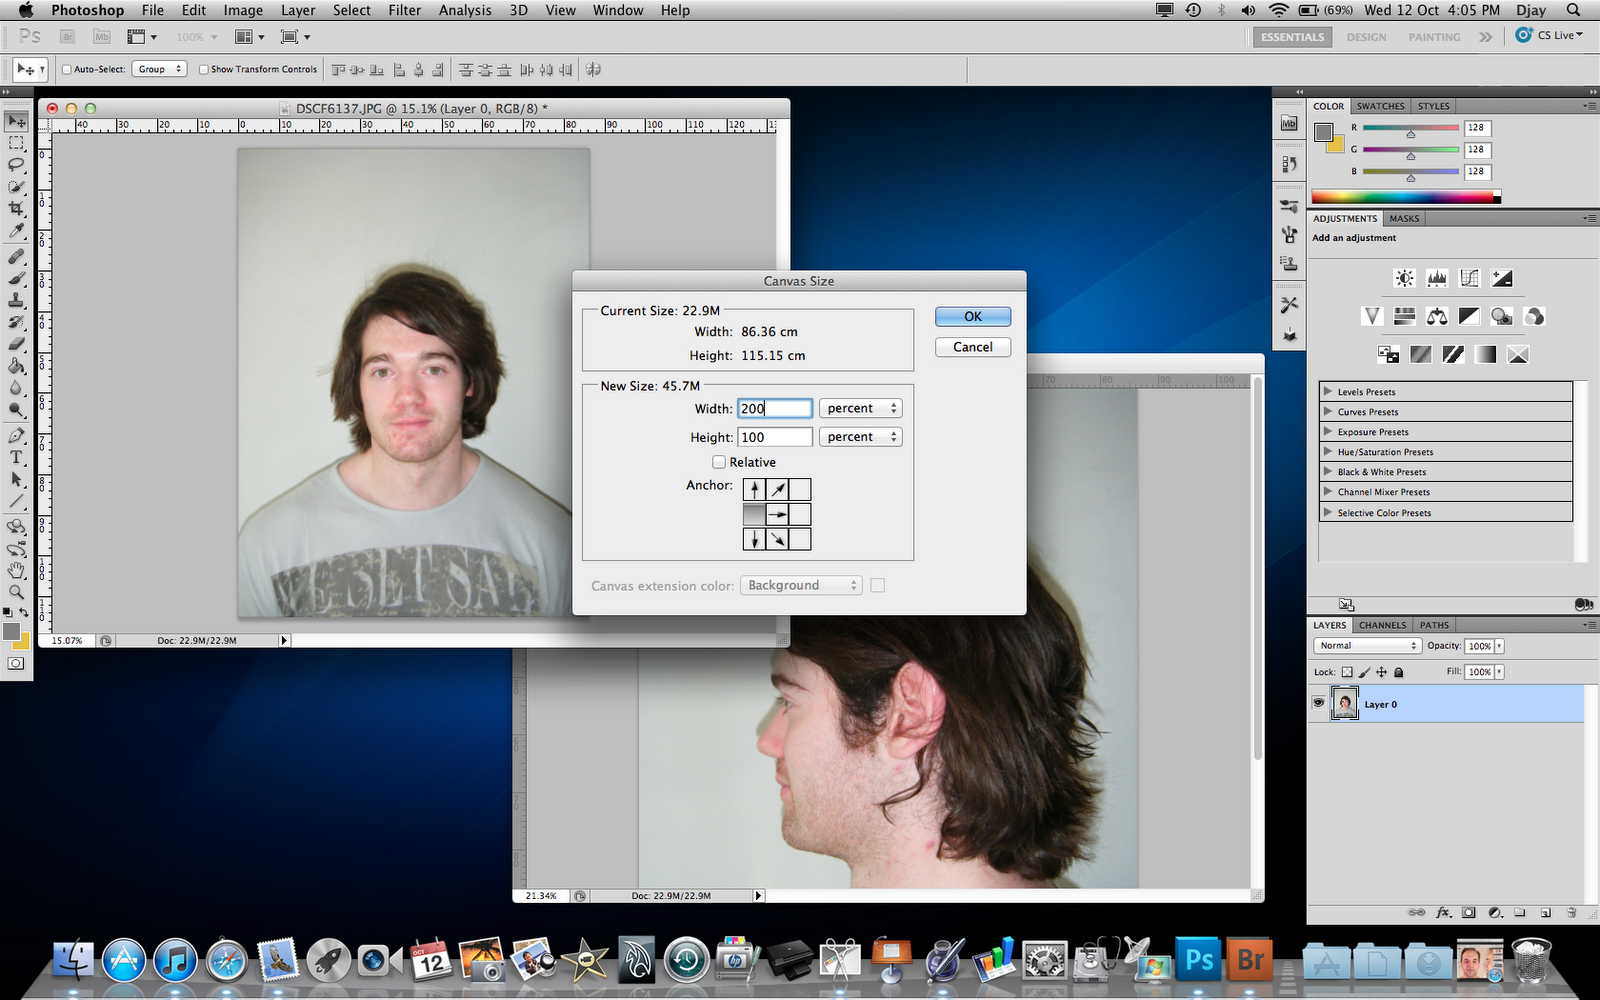
The files need to be merged into a single file to acquire dual manipulation
Select other image
Ctrl + A = Select all
Ctrl + C = Copy selection
Select image with larger canvas size
Ctrl + V = Paste
This will paste the image automatically as a separate layer
Select the move cursor on the left and move the image to the side

Erase extra background from side picture to allow for better visibility using erase tool on appropriate layer
Highlight required areas of picture with area selection tool
Image - crop
Will remove unnecessary background information form pictures and allow easier to manage work space

Take side view picture
Opacity 60% - 70%
Move over forward facing picture
Ctrl + T = Transform mode
Move cursor away from corner of box until rotation icon appears
rotate until aligned best as possible key positions i.e. eye levels

View - show rulers
Move mouse onto ruler (top of work area)
Drag down horizontal guide line to help line up faces
Adjust side face using transform tool until pictures are aligned
(Holding shift while using transform allows scale to be preserved)

Once aligned move image to side keeping inline with ruler marks
Once pictures are positioned drag ruler marks back over ruler to remove
Change side pictures opacity back to 100%

Create new layer (very bottom right list of icons second from right)
Change colour palette to blue
Select brush (adjust brush size and print to required i.e. small radius and sharp edge)
Draw lines following main contours of face as shown
Only one half of face is required as final results will be replicated to other side

These blue lines will be used as geometry guidelines
Create new layer
Change colour palette to red
Select brush adjust accordingly
Begin to draw geometry
Geometry refers to polygons
Polygons for 3Ds max topology works bests as quads (four sided 2 dimensional objects)
Task is to cover face in connected quads which follow contours of face
Use guides as aids however do not need to be followed exactly
Below is images of start middle and end of process


Personal preference
Overlayed geometry using straight lines to make sure all geometry lined up + make visualisation easier

Remove older rough version visibility for import

No comments:
Post a Comment